Making an Animated 3D Photo Book for the Web
Here I want to give some background on how and why I built this tool:
Viewing Photos in 2021#
Undoubtedly our relationship with photos has changed considerably in the last decade. The medium has changed from analog and private to digital and public. We share photos digitally on Instagram or through instant messengers, we store our entire photo archive in the cloud and we get throwbacks to past events in our photo roll.
One of the biggest influences on our use of photos has to be Instagram. There’s a lot to be said about how the photo sharing platform (although they are not calling themselves that anymore) has shaped the habits of probably billions of people. Two things that I think are significant are the focus on smartphones as an interface and the shift from personal memories to vibes and aesthetics.
Inspiration#
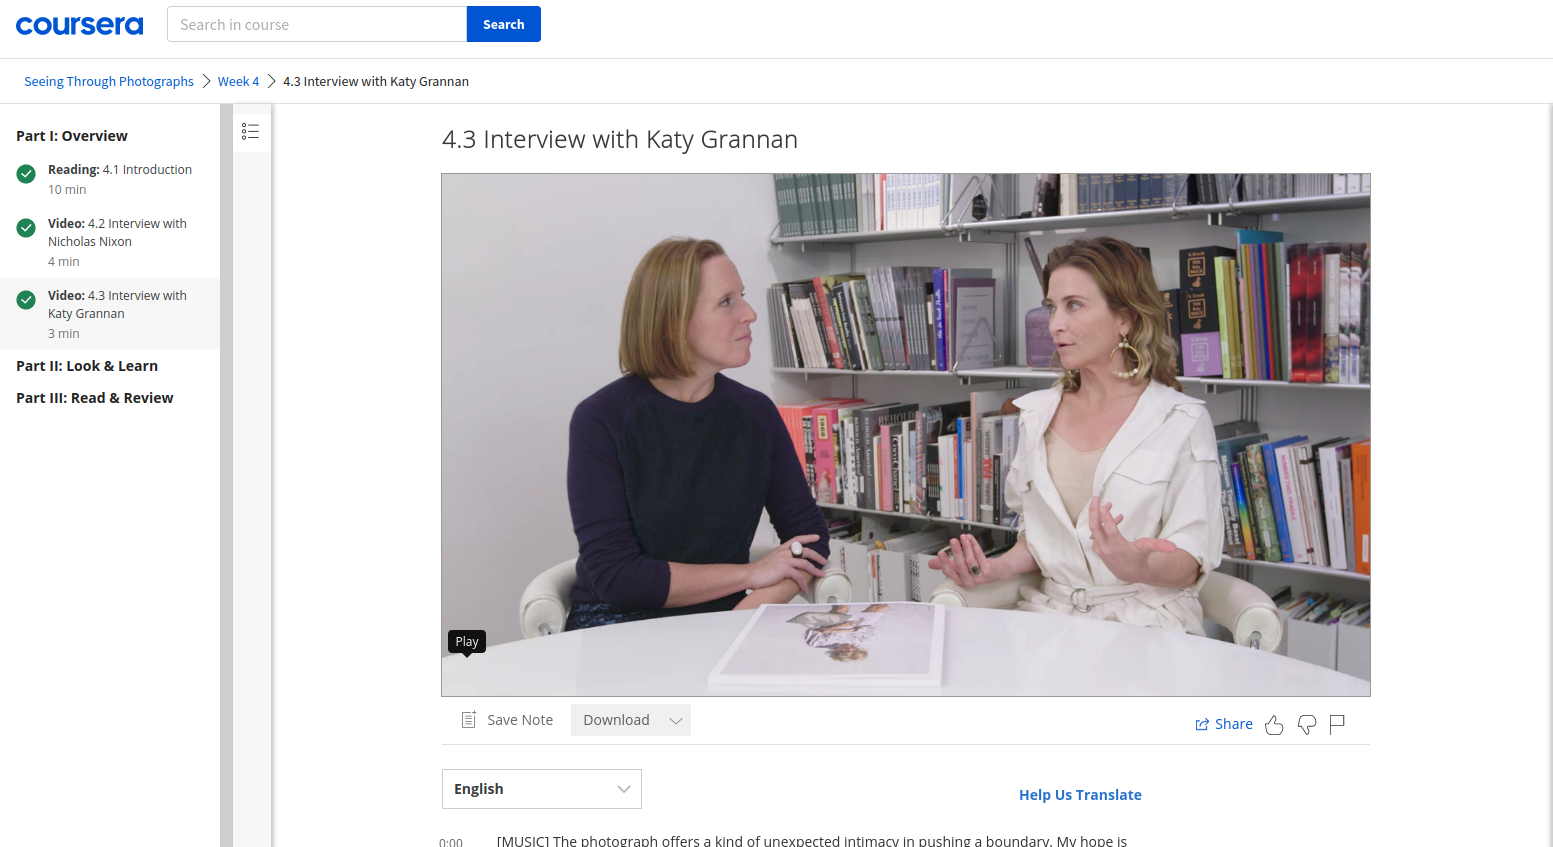
This course on Coursera called “Seeing Through Photographs” gives a good overview of the history of photography, from the beginnings as an exclusive and expensive tool for the elites, to a widely used, more casual, medium for the masses, to the ubiquitous flood of images and videos we are seeing today.
In this context, I thought that surely, there must be more engaging ways of experiencing our photos than posting them online or storing them in the cloud. Photos are capturing memories, places, feelings. They take us back to a moment in time that we found significant. Capturing photos has made enormous progress in the last 100 years or so. Viewing photos has stayed mostly the same. If anything, we are now looking at smaller images compared to a standard photo print, with Instagram only utilizing an even smaller square portion of our screens.
Most of us are viewing photos on a phone, which naturally means a small screen. I think this partially accounts for the shift towards aesthetics on IG: When you post something, you can either focus on the composition or on a detail of a photo, but not both. Once you choose one, you automatically disregard the other, due to the small screen size. Yes, you can zoom in a little with a pinch gesture, but the resolution suffers and the photo snaps right back to its original size. IG photos are not meant to be explored and pondered on, it’s primarily a social affair where the medium of communication happens to be photographs (and increasingly videos).
Imagine you bought a boat. Would you rather post a text saying "I bought a boat", or post a photo of said boat (caption: "new toy", hashtag: #imonaboat). The first option is clearly lame and positively *gauche*, while the second option is perfectly acceptable.
As an aside, it’s an interesting question why photos particularly lend themselves for this kind of signaling.
The Idea#
My idea was to present photos in a way that invites exploration and interaction, using the phone’s screen like a window into your “photo world”. Imagine you are using your phone’s camera to look at a physical photograph in front of you (maybe to show it to someone on a video call). You move your phone to look at different parts of the photo, giving you a sense of presence and physicality. The main goal was the ability to view details, while at the same time giving you an idea of the overall composition.
Discovery Phase, Part 1#
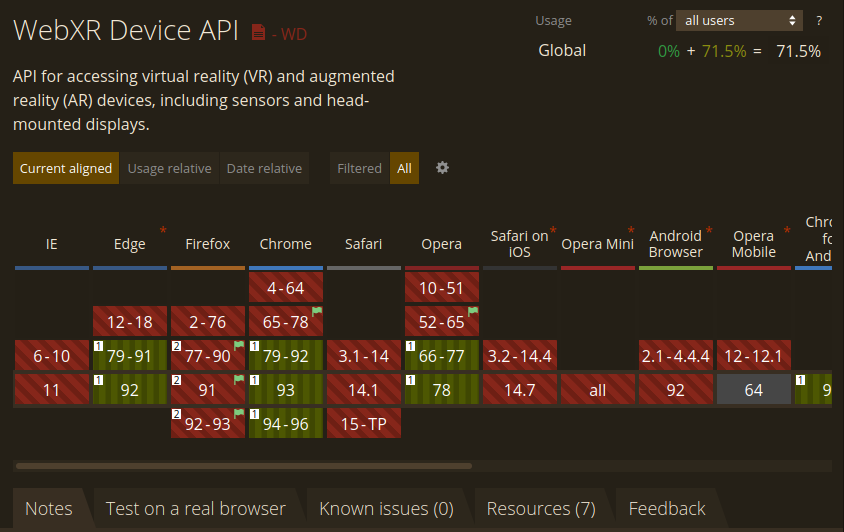
My first idea was to look into AR (augmented reality). After all, if you want to place things in a room virtually, that would be the way to go, right? Well yes, although I’d probably have to make a native app for that. There is the WebXR standard for the web, however browser support is basically non-existent outside of Chrome, so that fell flat.
I found this repo for an Android App that basically did what I had in mind. I had to update some dependencies (one of them deprecated by Google but thankfully maintained by this beautiful soul) and managed to compile and run it on my phone. It worked reasonably well, however in darker rooms it took a while to scan the environment and get started. What’s nice is that Google’s ARCore library does all the heavy lifting, so you as a developer can basically just request a surface and attach something to it, and it will stay in place.
What’s not so nice is that this is only for Android, an iOS app would have to use Apple’s ARKit. Since I’m not terribly familiar with app development in the first place, this would be quite a big project, more than I was willing to invest.
Discovery Phase, Part 2#
So let’s see what else is there on the web. 360° Panoramas seem to be fairly well supported in the browser, even utilizing the phone’s acceleration sensors. The problem is, with the gyroscope and accelerometer in a phone you only get rotational angles and relative motion. For example, you can look around in a 360° panorama (tilting your phone in different directions) using the gyroscope. However you can’t compute absolute movement, i.e. moving your phone left and right. It’s actually an ongoing research topic to get absolute positions from these sensors. For real-world usage, it’s even more messy, with many phones having an accelerometer but no gyroscope or vice versa (see here). Then there’s different implementations between manufacturers, and to top it all off, phone sensors are typically uncalibrated and noisy.
Building#
So I had this idea of using the phone’s camera to calculate the movement. There’s the OpenCV.js library that can actually run complex computer vision tasks in the browser. It also allows you to calculate Optical Flow, which basically tracks points in a video across frames to calculate movement. This tutorial was really helpful for understanding how it works in OpenCV.js.
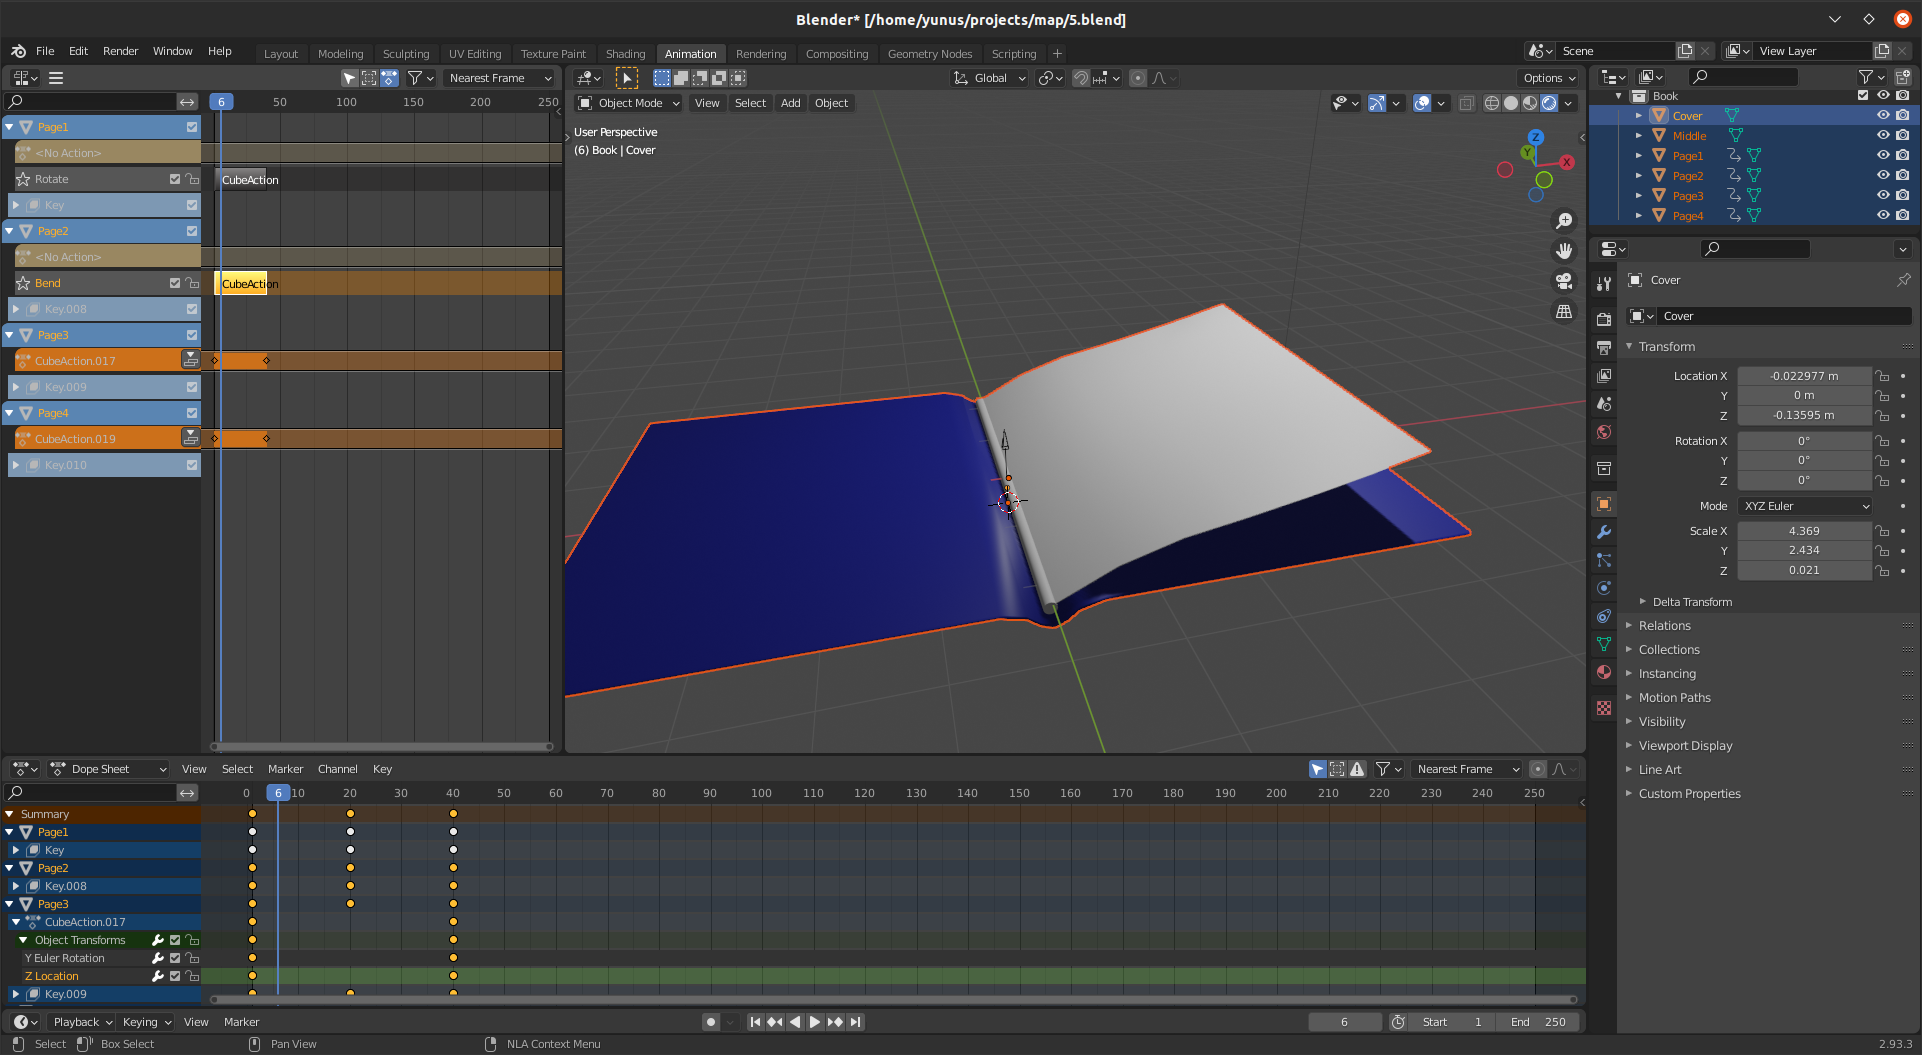
Now because this is actually quite computationally expensive, this was running a bit slow even on modern phones. I improved it by scaling down the video feed to 100x100 pixels and converting it to grayscale, which still works surprisingly well. The rest of it was figuring out suitable parameters for the movement speed and building an UI around it. The first iteration actually featured a virtual room, which I made in Blender, so you had a frame of reference. However, the users on Reddit weren’t convinced. Eventually the feedback helped me to improve the second iteration, so it was a useful exercise.
Technical Implementation#
Computer Vision Pipeline#
The core challenge was implementing real-time motion tracking in the browser. I developed a computer vision pipeline using OpenCV.js that:
-
Captures video input at 30fps
-
Preprocesses frames:
- Downsampling to 100x100px
- Grayscale conversion
- Noise reduction
-
Implements Lucas-Kanade optical flow algorithm for motion tracking:
const params = {
    winSize: new cv.Size(15, 15),
    maxLevel: 2,
    criteria: new cv.TermCriteria(
        cv.TERM_CRITERIA_EPS | cv.TERM_CRITERIA_COUNT,
        10,
        0.03
    )
};

cv.calcOpticalFlowPyrLK(prevImg, nextImg, prevPts, nextPts, status, err, params);
- Optimizes performance through:
- WebAssembly acceleration
- Frame buffering
- Efficient memory management
[Rest of article continues…]